Introduction
If you're looking to bring your plastic model kits to life, weathering is the key. Weathering is the process of making models appear aged, worn, or used, which gives them a much more realistic look. From rusted vehicles to weather-beaten aircraft, adding weathering techniques can transform your model from a clean, brand-new look to a well-worn, battle-scarred masterpiece. In this article, we’ll explore various weathering techniques and how you can use them effectively on your plastic model paint kits.
Understanding the Basics of Weathering
What is Weathering?
Weathering in model building refers to techniques used to simulate the natural wear and tear a vehicle, aircraft, or object would experience over time. This includes rust, dirt, dust, fading, and scratches, giving the model a more lived-in or operational appearance.
Importance of Weathering in Model Building
Without weathering, your model may appear too pristine, as if it just rolled off the assembly line. Weathering adds layers of depth, authenticity, and history to the model, making it more engaging and visually striking.
Common Weathering Techniques
Drybrushing
Drybrushing is a simple but effective way to highlight raised surfaces and edges on your model, simulating wear. By using a dry brush with minimal paint, you can subtly enhance details.
Washes
Washes involve applying thin layers of diluted paint to bring out panel lines and recessed details. They’re perfect for adding shadows and making small details pop.
Chipping
Chipping is a method used to replicate areas where paint has worn away or chipped off, revealing the bare metal or surface underneath.
Pigments
Pigments are powdered colors that can simulate dirt, rust, and other environmental effects on models. They add a gritty, realistic texture when applied correctly.
How to Use Drybrushing for Weathering
Materials Needed for Drybrushing
To drybrush your model, you’ll need a flat brush, metallic or light-colored paint, and a paper towel to remove excess paint from the brush.
Steps to Drybrush a Model
Choosing the Right Brush
A stiff, flat brush works best for drybrushing, as it allows for more control when highlighting details.
Paint Selection and Application
Use a small amount of paint on the tip of your brush, then wipe off the excess on a paper towel. Lightly brush over the raised areas of your model to create subtle highlights.
Highlighting Edges and Raised Surfaces
Focus on edges, bolts, and other raised surfaces, as these are areas that naturally wear faster in real life.
Applying Washes for Subtle Depth
Materials for Washes
Washes typically require diluted acrylic or enamel paint, a fine brush, and some water or thinner.
Steps to Applying a Wash
Choosing the Correct Wash Type
For darker tones and shadows, black or brown washes are commonly used. For rust or weather effects, choose washes that complement your base color.
Applying the Wash to Panels and Crevices
Using a fine brush, apply the wash into the panel lines and recessed areas of your model. This will create natural shadows and depth.
Removing Excess Wash
After applying the wash, use a clean cloth or brush to remove excess paint from raised surfaces, leaving it in the recesses for added contrast.
Mastering the Art of Paint Chipping
What is Paint Chipping?
Paint chipping simulates areas where the paint has worn away due to usage or damage. This technique is commonly used on military vehicles and aircraft.
Methods for Creating Chipped Paint Effects
Sponge Chipping Technique
Dabbing a small piece of sponge in paint and then gently pressing it onto the model can create random, natural-looking chips.
Hair Spray Method
Spraying a layer of hairspray over your model and then applying paint on top can allow you to rub away parts of the top layer, creating a chipping effect.
Adding Realism with Pigments
What are Pigments?
Pigments are fine powders used to simulate rust, dust, and dirt. They can be applied dry or mixed with a medium to create texture.
How to Apply Pigments to Models
Dust and Dirt Effects
For dusty surfaces, lightly brush pigments over the model with a soft brush. For dirt effects, concentrate the pigments on the lower parts of the model, such as wheels or tracks.
Rust and Grime Application
Mix rust-colored pigments with a binder and apply them to areas prone to rust, such as exhausts or joints. Use a stippling motion to create rough, uneven surfaces.
Advanced Weathering Techniques
Oil Paints for Weathering
Oil paints are excellent for blending and creating streaking effects. Use them to simulate rain marks, oil spills, or faded paint.
Salt Technique for Paint Fading
The salt technique is used to create faded and chipped paint. Apply salt to a damp surface on your model, paint over it, and then remove the salt to reveal weathered patches.
Weathering with Airbrush
An airbrush allows you to apply soft, subtle gradients, ideal for creating sun-faded paint or soft dirt buildup.
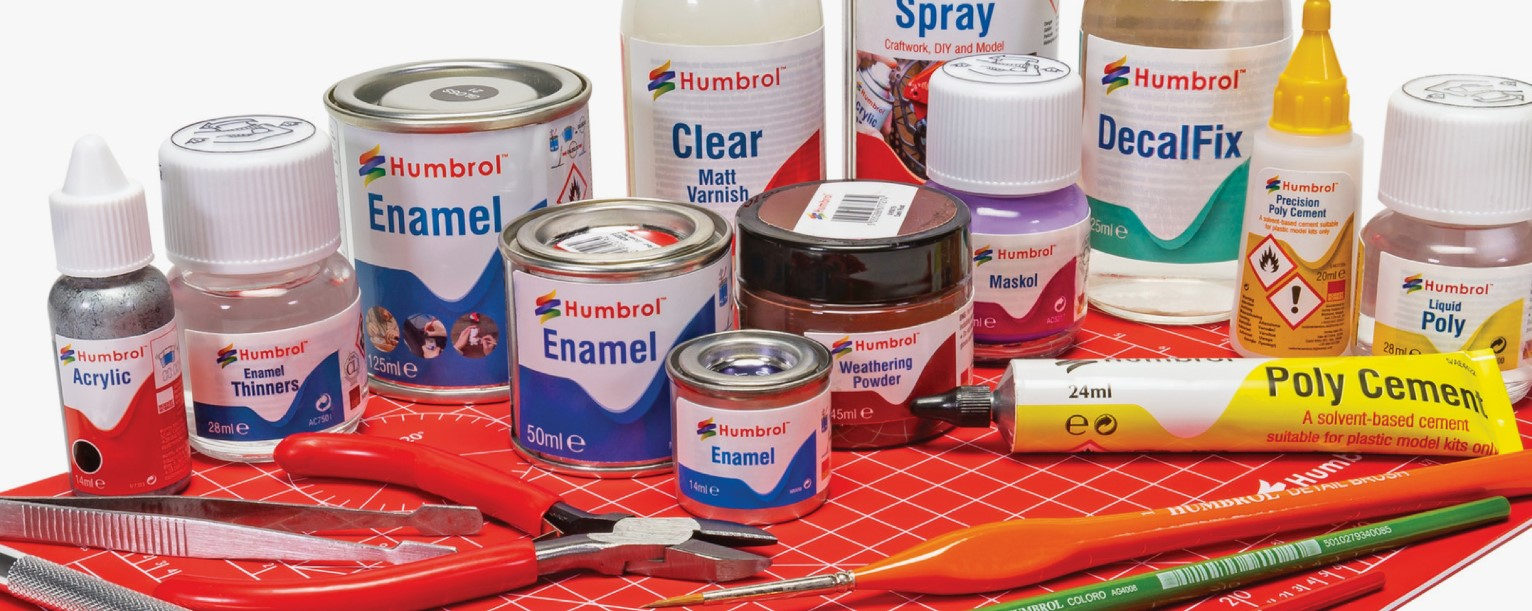
Tools and Materials Needed for Weathering
Weathering Brushes
Use old, worn-out brushes or specific weathering brushes with stiff bristles for applying pigments and drybrushing.
Sponges and Tweezers
Sponges are used for chipping and texturing effects, while tweezers can help place small details, like rust spots or weathering powders, with precision.
Specialized Paints and Pigments
Weathering-specific paints, washes, and pigments are available to make the process easier and more effective. These products are designed to mimic real-world environmental effects.
Common Mistakes to Avoid in Weathering
Overdoing the Weathering Effects
It’s easy to get carried away, but too much weathering can ruin the realism. Less is often more when it comes to weathering.
Incorrect Color Choices
Using colors that don't match the real-world environment your model would operate in can make the weathering look unrealistic.
Rushing the Process
Weathering requires patience and subtlety. Rushing through techniques, such as washes or drybrushing, can lead to an uneven or unconvincing finish.
Conclusion
Weathering techniques add an extraordinary level of realism and character to plastic model kits. By mastering methods like drybrushing, washes, and pigments, you can elevate your model-building skills and create projects that look like they’ve been through the rigors of the real world. Remember to take your time, choose the right materials, and avoid overdoing it for the best results.
FAQs
-
What is the best technique for beginners to start weathering?
Drybrushing is the easiest and most effective technique for beginners to add depth and highlight details. -
How do I achieve realistic rust effects?
Use pigments or rust-colored washes and apply them to areas where rust would naturally occur, like joints or exhausts. -
Can I use weathering techniques on any model type?
Yes, weathering techniques can be applied to any model, from military vehicles to sci-fi figures. -
Do I need special paints for weathering?
While regular paints can be used, specialized weathering paints and pigments can make the process easier and more realistic. -
How do I preserve my weathered model?
After completing your weathering, seal your model with a matte varnish to protect the effects and ensure long-lasting results.
Our Social Pages:
https://plastic-models-store.com/
https://www.facebook.com/plastic.models.store
https://www.instagram.com/plastic_models_store/
https://www.youtube.com/channel/UCKpiM8Q6k2XjOwN9lW0fOrw