Introduction
Building military model kits is an exciting hobby that allows you to recreate historic tanks, airplanes, and battleships in miniature form. If you’re new to this, you might feel overwhelmed with all the parts, tools, and techniques. But don’t worry! This beginner’s guide will walk you through the entire process, from choosing your first kit to adding the final touches. By the end, you’ll feel confident in assembling your first military model.
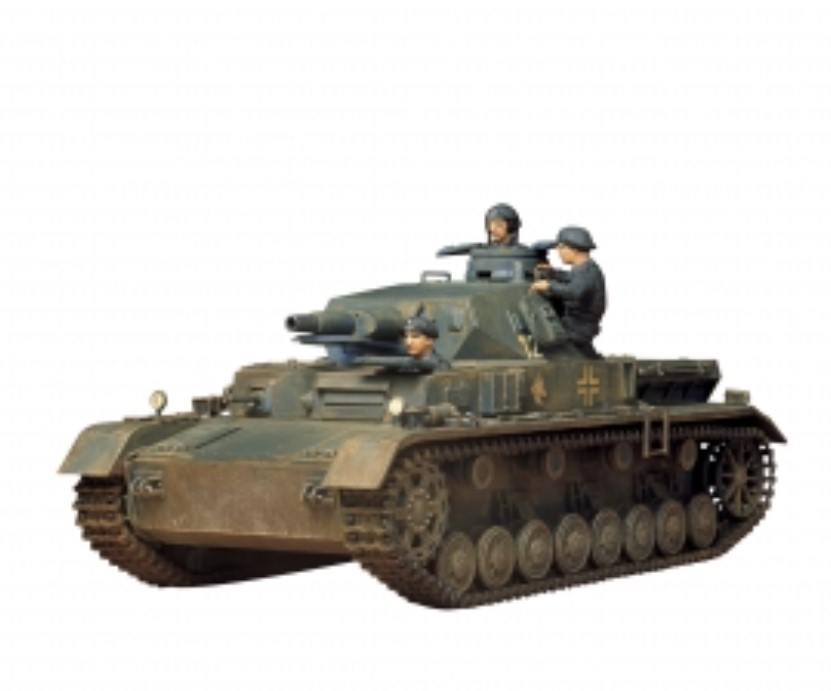
1. Choosing the Right Model Kit
The first step is choosing a model kit that suits your skill level and interests. Military kits typically fall into three categories: tanks, aircraft, and ships. As a beginner, you may want to start with a 1/72 scale tank or a 1/48 scale plane. These are manageable in size, and many come with simple instructions.
When selecting your kit, check for one labeled as "beginner-friendly" or "easy-build" to ensure the parts are easy to assemble.
2. Essential Tools You’ll Need
Before you start, gather some basic tools to make the building process easier:
-
Hobby knife: To remove parts from the sprue (plastic frame).
-
Tweezers: For handling small, delicate pieces.
-
Sanding sticks: To smooth out rough edges.
-
Plastic cement or glue: Specifically designed for models.
-
Paintbrushes: A mix of fine and broader brushes for painting.
-
Acrylic paints: Great for beginners due to their easy use and quick drying time.
3. Preparing Your Workspace
Having an organized workspace is key. Here’s what you need to set up:
-
Clean, flat surface: A table where you can lay out your model parts.
-
Cutting mat: To protect your table and make cutting easier.
-
Good lighting: Make sure you have enough light to see small details.
-
Ventilation: If you're using paints or glues, good airflow will keep you safe.
4. Understanding the Instructions
Before starting, take time to carefully read through the instructions. Military model kits usually come with detailed diagrams that show you how to put the pieces together. Look for these common terms in the guide:
-
"Dry fit": Means putting pieces together without glue to check how they fit.
-
"Sprue": The plastic frame that holds the parts.
-
"Decals": Stickers or transfers used to add numbers or insignias.
5. Removing Parts from the Sprue
Carefully cut out the pieces you need using a hobby knife. Don’t twist or snap them off, as this can damage the parts. Use sanding sticks to smooth out any rough spots where the part was attached to the sprue.
6. Assembling Your Model
Now it’s time to start putting your model together. Here’s a simple step-by-step for assembling:
-
Step 1: Dry fit all parts before gluing to check for accuracy.
-
Step 2: Use plastic cement or model glue sparingly to avoid a mess. Apply small amounts with a toothpick or fine brush.
-
Step 3: Follow the instruction steps in order—typically starting with the body of the tank or aircraft and moving to smaller details.
Take your time during assembly! Rushing can lead to mistakes or misaligned parts.
7. Painting Your Model
Painting is what truly brings your military model to life. Here’s how to get started:
-
Step 1: Prime your model with a base coat. Priming helps paint stick better and provides an even surface.
-
Step 2: Apply your base colors (camouflage or solid colors) with a fine brush. Thin layers are better to avoid covering details.
-
Step 3: Once the base coat dries, add smaller details, like insignias or tracks on tanks, using finer brushes.
Pro tip: Practice on a piece of scrap plastic first to get used to your paint and brushes.
8. Adding Decals
Decals add realism to your model, giving it unique markings like numbers, insignia, or logos. Here’s how to apply them properly:
-
Step 1: Cut out the decal from the sheet.
-
Step 2: Dip it in water for 10-20 seconds until it slides off the backing paper.
-
Step 3: Position the decal on your model using tweezers and adjust its placement.
-
Step 4: Use a decal-setting solution to help the decal conform to the surface.
9. Weathering for Realism
If you want to take your model to the next level, weathering adds realistic wear and tear, making it look like it’s been through battle. Beginners can start with simple weathering techniques like:
-
Dry brushing: Lightly brush paint over raised areas to highlight edges.
-
Washes: Thin your paint with water and apply it to recesses to create shadows and depth.
These techniques help give your model an aged, battle-worn appearance.
10. Final Touches and Display
Once your model is painted and weathered, the last step is adding any final details like antennas, machine guns, or insignias. Make sure everything is secure and properly glued.
Consider displaying your model in a dedicated case or on a stand to protect it from dust and damage. You’ve spent a lot of time crafting it, so it deserves a nice display!
Conclusion
Building military model kits is a rewarding and creative hobby that requires patience and precision. For beginners, the key is to start small, learn as you go, and enjoy the process. With the right tools, some basic techniques, and a little practice, you’ll be assembling impressive military models in no time. As you gain confidence, you can experiment with more complex kits and advanced techniques, creating mini-masterpieces that showcase your growing skills.
FAQs
-
How long does it take to build a military model kit?
The time varies depending on the complexity of the model. For beginners, it might take a week or two of casual work to complete a model. -
Do I need to paint the model?
While not all kits require painting, adding paint enhances the realism of your model and is highly recommended for a more authentic look. -
What kind of glue should I use?
Use plastic cement or a model-specific glue designed for plastics. Avoid using regular household glue, as it may not hold well. -
Can I build a model without prior experience?
Yes! There are many beginner-friendly kits available. Start with something simple, follow the instructions closely, and take your time. -
What are the best paints for military models?
Acrylic paints are recommended for beginners because they are water-based, dry quickly, and are easy to clean up.
Our Social Pages:
https://plastic-models-store.com/
https://www.facebook.com/plastic.models.store
https://www.instagram.com/plastic_models_store/
https://www.youtube.com/channel/UCKpiM8Q6k2XjOwN9lW0fOrw